Welcome to the world of pickleball drills! I get it—practice can feel like a chore (trust me, I’d rather just play, too).
But here’s the deal: the right drills can totally transform your game, giving you skills to use when you need them most. Think of it as building a toolbox you can reach into anytime.
So, let’s dive in! I’ll share some of my favorite drills for improving control, footwork, and game strategy in a way that’s fun and keeps you motivated.
By the end, you’ll feel more confident—and maybe even surprise a few opponents!
Building a Solid Foundation: Control & Precision Drills
So, let’s talk control. If I could go back and tell beginner-me one thing, it would be to focus on mastering the feel of the paddle and the ball.
I remember starting out, thinking power was the secret sauce, only to find that control was what really got results.
Drill 1: Paddle Control Basics (“Paddle Tamer”)
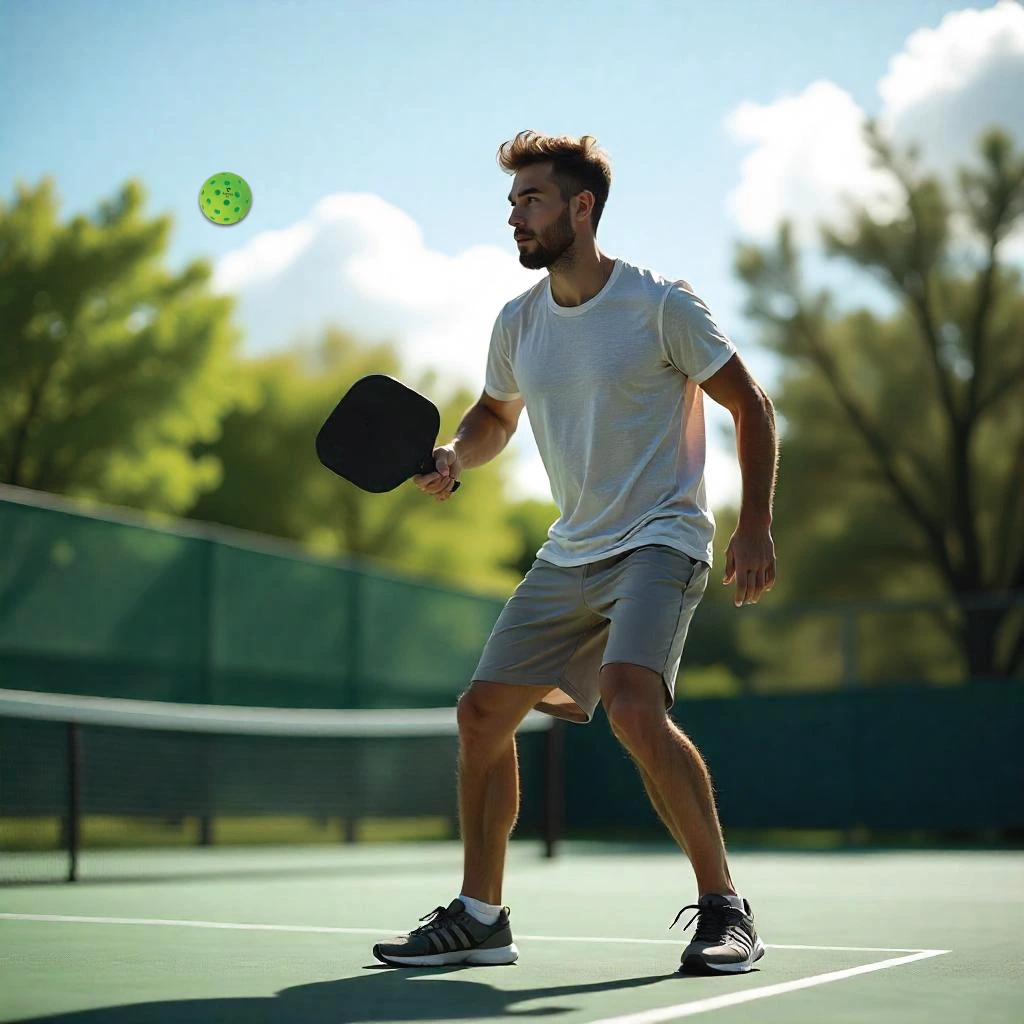
Ever tried to keep a pickleball bouncing on your paddle without letting it fall? It sounds simple, but trust me, it takes real finesse. This drill is fantastic for helping you get familiar with your paddle’s “sweet spot.”
Steps:
- Hold your paddle out and bounce the ball straight up, keeping it in the air as long as possible.
- Try hitting different parts of the paddle to see how it affects the bounce—near the edge, closer to the handle, and right in the center.
- Aim to keep the bounce steady, imagining the ball is a little bird’s egg you don’t want to break!
Personal Tip: I used to do this on my driveway, and it helped so much with feeling more in control. Plus, it’s a great warm-up before a game to get your hand-eye coordination on point.
Drill 2: Wall Target Practice (“Hit the Spot”)
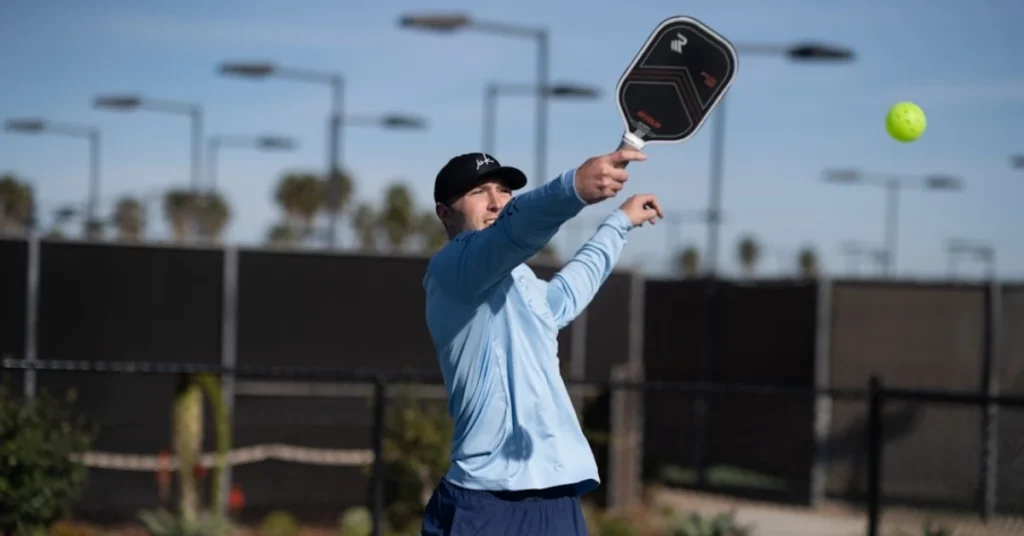
Here’s a fun one. All you need is a wall and something to mark a few target spots. Think of this like practicing your aim in a way that feels a bit like a game.
Steps:
- Draw or tape a few squares on the wall, each about the size of the paddle’s head.
- Step back a few feet and practice hitting each target with a controlled stroke.
- Try to keep the rhythm going, only letting the ball bounce once before each hit.
Personal Story: When I first tried this, I kept missing my target. But after a few weeks of practicing, I saw a noticeable improvement in my aim on the court. Now, I always know where my paddle is going to send the ball, which has saved me during some tricky rallies!
Drill 3: Dinking in the Kitchen (“Gentle Giants”)
Let’s bring it up to the kitchen line. Dinking is all about control—like caressing the ball over the net, keeping it low and out of reach for your opponent.
If you want to dive deeper into more ways to perfect your soft game, check out these pickleball dinking drills that can really sharpen your touch and control at the kitchen line.
Steps:
- Stand with your toes just behind the kitchen line, facing a partner across the net.
- Practice landing soft, controlled shots that just barely make it over the net.
- Focus on keeping your paddle in front and “pushing” the ball over the net rather than flicking your wrist.
Pro Tip: Visualize the ball as a baby bird you’re gently guiding into its nest on the other side. It’s silly but effective—and keeps you in the right mindset for soft control!
Moving with Confidence: Footwork & Positioning Drills
Once you’ve got control down, let’s work on movement. Footwork is everything in pickleball, but it’s something I had to learn through experience. If your feet aren’t in the right place, even the best swing won’t save you!
Drill 4: The Shuffle Drill (“The Side Stepper”)
Shuffling side to side without crossing your feet might feel weird at first, but it’s essential for stability and balance when you’re defending the kitchen.
Steps:
- Start at one end of the kitchen line, facing the net.
- Shuffle sideways to the other end without crossing your feet, keeping your paddle in front.
- Stay light on your toes and move quickly.
Personal Story: My first few times doing this drill, I felt like I was playing a game of hopscotch gone wrong. But after a while, it became a second-nature move in games, helping me reach even those surprise shots.
Drill 5: Cross-Court Dinking (“Angle Artist”)
Cross-court dinking is a fantastic drill for mastering angles and building your lateral movement skills. Plus, the added distance gives you a little more margin for error.
Steps:
- Position yourself diagonally across from a partner on the court.
- Practice dinking the ball across to each other in a controlled manner, aiming for the kitchen corner.
- Focus on maintaining a steady rhythm and good balance.
Pro Tip: I found this drill really helped me learn how to use the angles in a way that caught my opponent off guard. Those cross-court shots are a powerful tool in any pickleball player’s arsenal.
Drill 6: Kitchen Runs (“The Approach”)
This one combines the third-shot drop with getting to the kitchen line. The goal is to get you comfortable with approaching the net confidently.
Steps:
- Stand at the baseline while your partner stands at the net.
- Practice a soft third-shot drop that allows you to approach the kitchen line.
- Continue dinking with your partner once you reach the kitchen line.
Personal Insight: I remember thinking, “Why would I want to get to the net when I’m fine back here?” But once I learned how crucial net positioning was, I realized this drill was key to taking control of the game.
Game-Changer Drills: Practicing Real-Game Scenarios
Here’s where it all comes together. These drills simulate actual game situations, which makes practice a lot more exciting and prepares you for those intense points on the court.
Drill 7: Third Shot Drop & Return (“The Game Maker”)
The third-shot drop is a game-changer. Mastering this gives you a smooth transition from defense to offense.
Steps:
- Partner up, with one person at the baseline and the other at the net.
- The player at the baseline practices controlled third-shot drops.
- The net player tries to return the ball gently to keep the rally going.
Pro Tip: Focus on the timing and keeping the ball low. I used to overshoot it all the time, but the more I practiced, the more consistent my drops became.
Drill 8: Reflex Training (“Pop-Up Preventer”)
This drill is fantastic for building quick reflexes and keeping your paddle in the ready position.
Steps:
- Stand at the kitchen line with a partner and start dinking back and forth.
- Every so often, have your partner throw in a fast drive.
- Your job is to block the drive without popping the ball up.
Personal Story: The first time I tried this, I wasn’t ready for the speed—and the ball whizzed past me! But it made me focus more on staying alert, and now I don’t get caught off guard as easily.
Drill 9: Skinny Pickle (“The One-Sided Wonder”)
This is one of my favorite drills because it keeps you on your toes and working in a smaller space.
Steps:
- Play on just one side of the court with a partner.
- Rally back and forth, but only use the space from the centerline to the sideline.
- Focus on accuracy and quick footwork.
Challenge: Playing in this smaller area sharpens your reactions and keeps you nimble, perfect for improving accuracy and working out those fast-twitch muscles!
Making It Fun: Drills to Keep You Engaged and Motivated
Staying motivated with drills is all about making them enjoyable. Here are some to try when you’re in the mood for a little fun competition or a creative twist.
Drill 10: Bounce-Tap-Push (“Bounce Buddies”)
This one keeps you in rhythm while practicing control and dinking consistency.
Steps:
- Bounce the ball, tap it gently on your paddle, then push it over to your partner.
- Alternate between forehand and backhand taps.
- Keep it light and steady, like you’re trying to keep a delicate feather in the air.
Drill 11: Dinking for Points (“Dink Duel”)
A little competition never hurt anyone, right? Try this friendly dink challenge to build accuracy.
Steps:
- Set up across from a partner and try to keep your dinks in the kitchen.
- Every successful dink earns a point.
- First to 10 wins, but a pop-up loses you a point!
Drill 12: Game Simulation (“Pickleball Scrimmage”)
This is a full-court drill where you get to practice all the skills you’ve been working on.
Steps:
- Play out a mini-game with a partner.
- Apply all the techniques you’ve practiced, from third-shot drops to dinking control.
- Focus on playing with purpose, not just hitting for hitting’s sake.
Wrapping It Up: Keep Practicing and Keep Smiling
These drills have been game-changers for me, and I hope they’ll be for you too. Remember, every practice session brings you closer to becoming the player you want to be.
It’s not about perfection; it’s about having fun, making progress, and enjoying every step of the journey.
So, grab a friend, hit the court, and keep drilling with a smile! You’re building not only skills but also memories, one shot at a time.
FAQs: Quick Answers to Your Pickleball Drill Questions
How often should I practice pickleball drills?
Aim for 2-3 times a week for best results—consistency is key!
Can I do these drills solo?
Absolutely! Many of these drills can be adapted for solo practice with just a wall or target.
How long should each drill session last?
30-60 minutes is ideal. Focused, quality practice beats longer, unfocused sessions.
Which drill should I start with as a beginner?
Try the Paddle Control Basics and Dinking drills. They’re fun, simple, and build core skills fast!
How soon will I see improvement?
With regular practice, you’ll start noticing improvements within a few weeks. Stick with it, and you’ll feel more confident in games!
Do I need special equipment for these drills?
Not at all! All you need is a paddle, some balls, and a bit of space. A wall can work wonders, too!

